Reporting and Forms
The Reporting module allows app users to to complete and send forms to their app administrator. Administrators can create and preview as many forms as required within the portal.
Form Ideas:
- Incident report
- Subscription form
- Contact request
- Feedback
Creating a Form
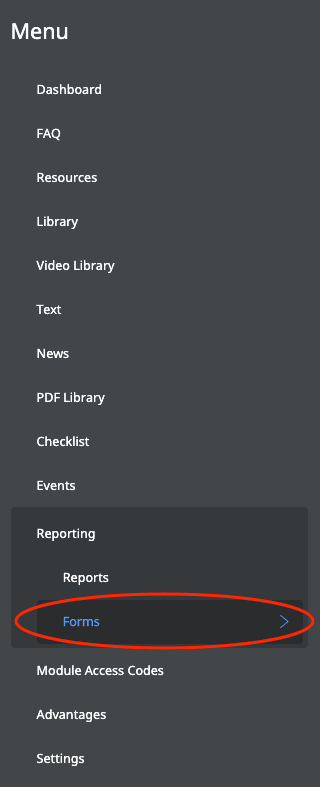
- Select REPORTING > FORMS from the menu on the left.
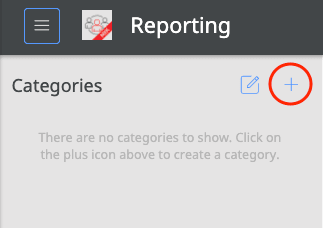
- Click on the PLUS ( + ) sign on the top right of the column to create a new form category.
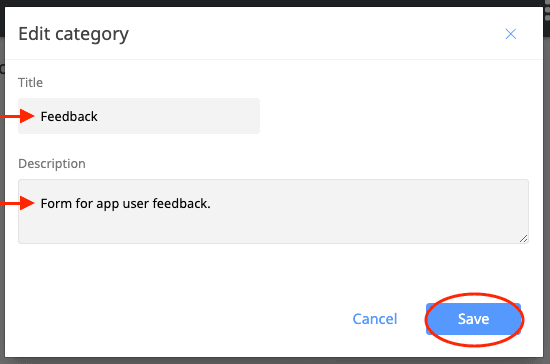
- In the CREATE CATEGORY window, complete the information in the TITLE and DESCRIPTION boxes, then press SAVE.
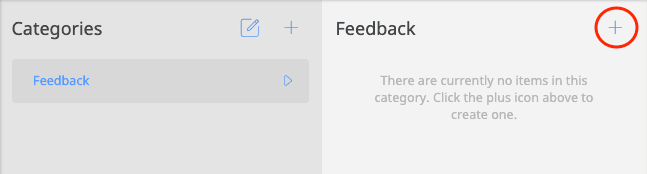
- Click on the PLUS ( + ) sign in the second column to create a form within the new category.
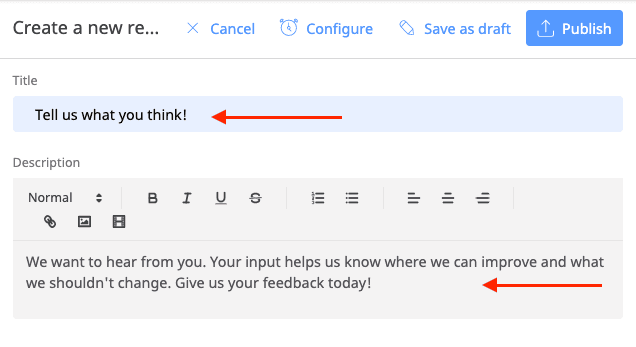
- In the CREATE A NEW REPORT window, insert the form’s title and description.
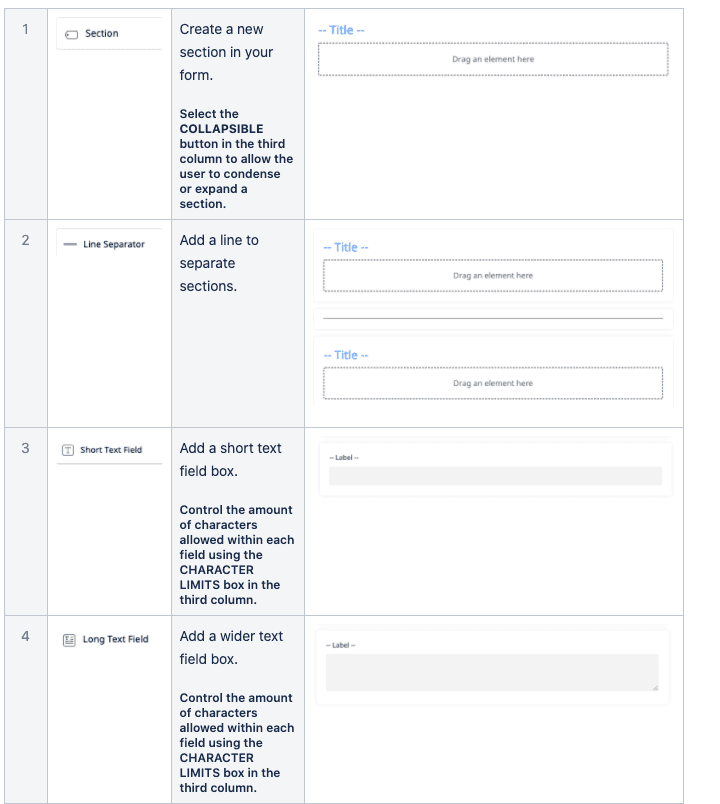
- Choose from the list of elements on the left-hand side. Drag and drop the elements you need within the CREATE A NEW REPORT column to build your form.
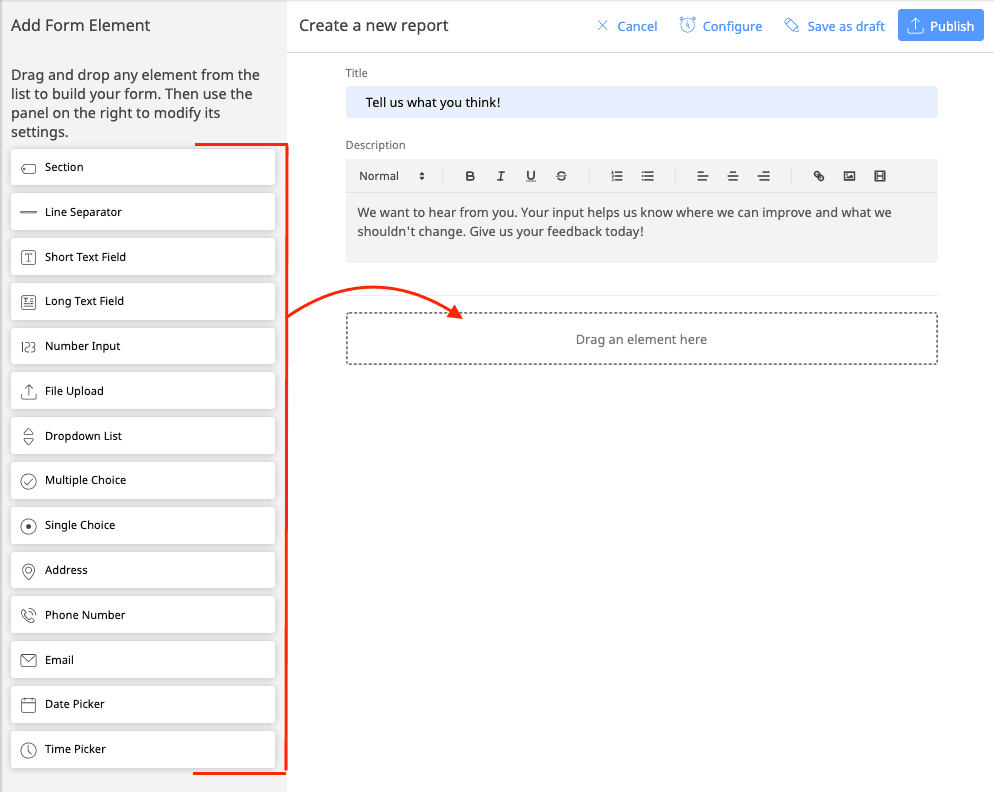
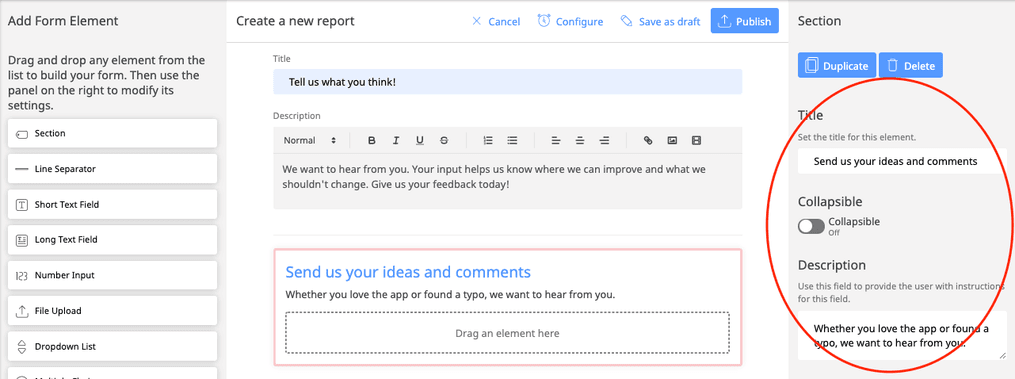
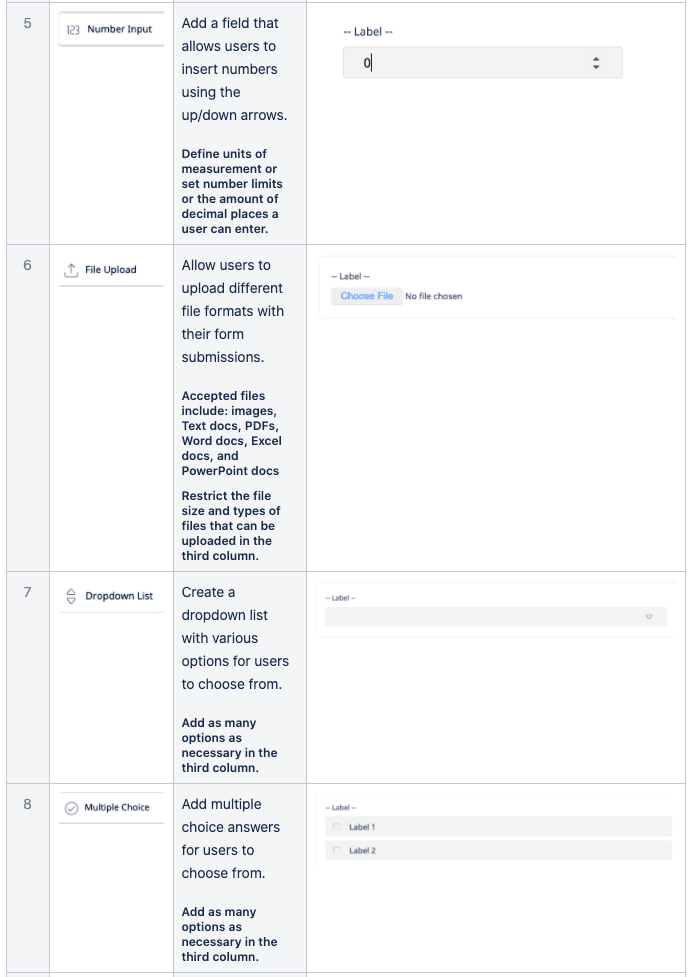
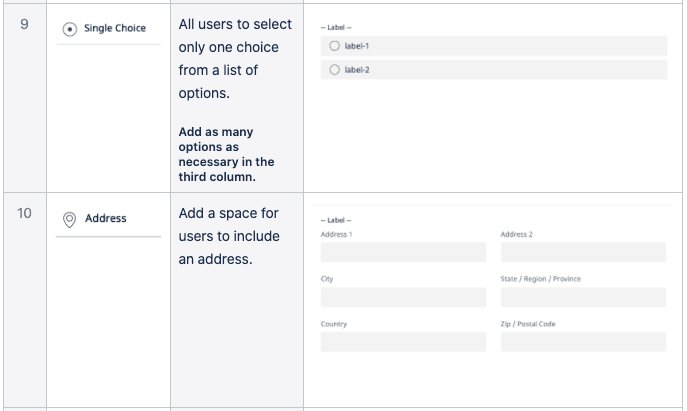
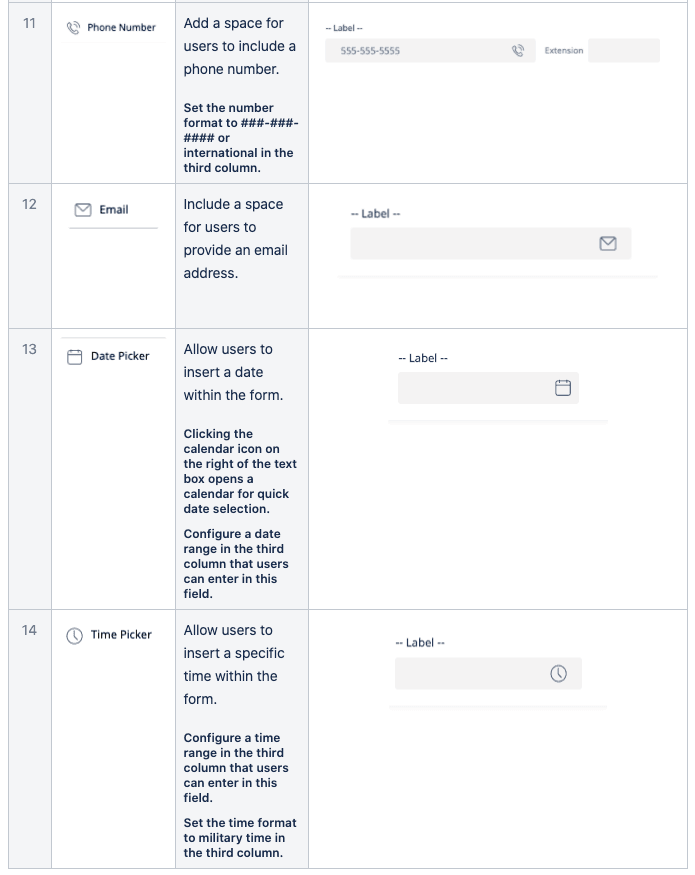
Refer to the Form Elements Breakdown section below for explanations of each form element. - Use the panel in the third column to modify each selected element.
- Click PUBLISH in the top-right corner of the page to make the form live within the app.
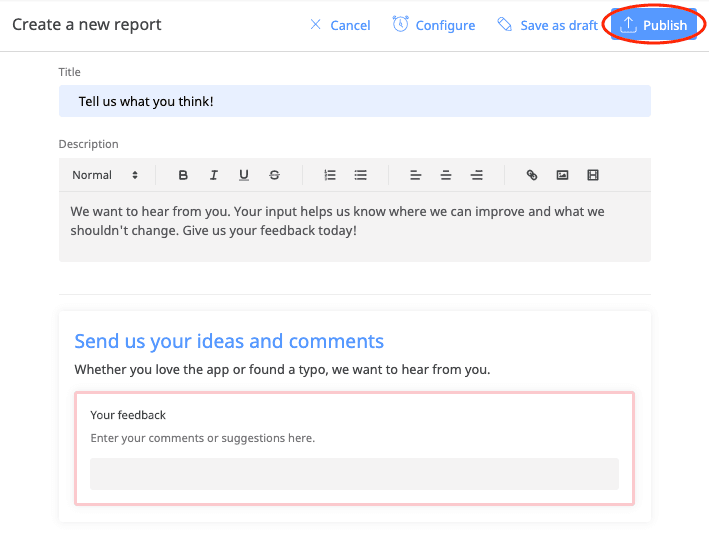
Note: Use the other options at the top of the middle column to CANCEL or *CONFIGURE your form, or to SAVE AS DRAFT.
*CONFIGURE your form to select the administrators that will be notified whenever a report of this type is received. - Click CONFIRM in the pop-up window to confirm your selection.
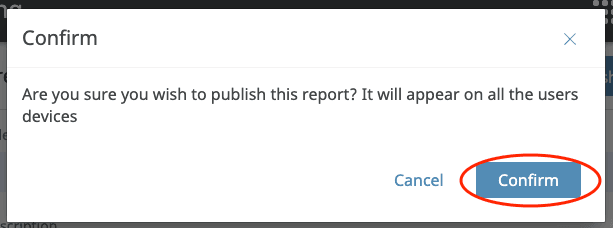
And you’re done!
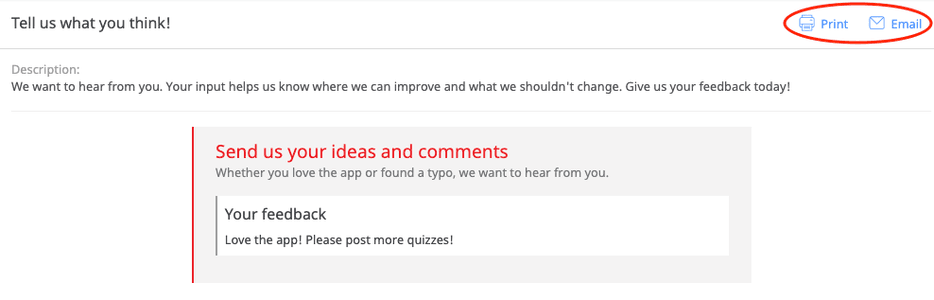
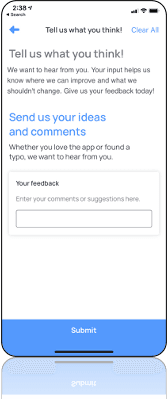
Your new form has been published and is accessible by app users. It will instantly appear in the REPORTING module of your app like so:
Form Elements Breakdown
Editing and Deleting Categories
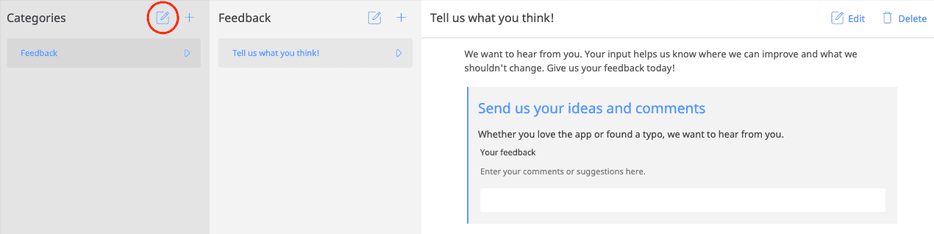
Select the EDIT icon in the top-right corner of the first column.
To EDIT a category:
- Select the EDIT icon on the right of the category name.
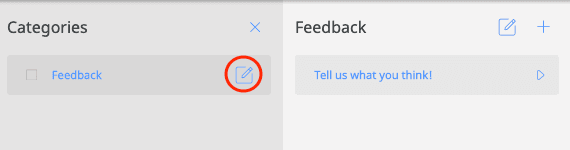
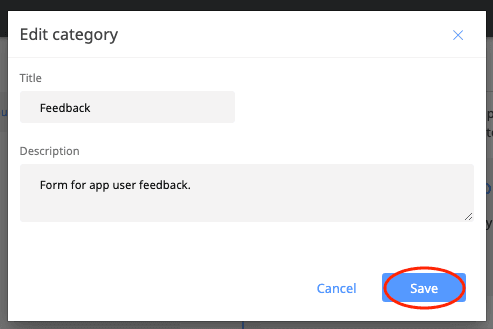
- Edit the category information in the pop-up window, and press SAVE.
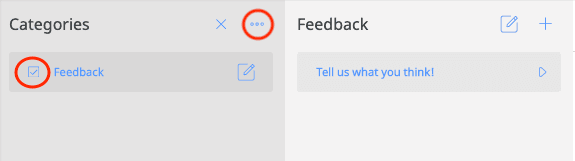
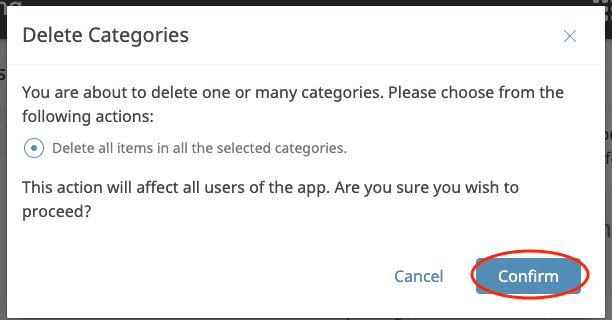
To DELETE a category:
- Check the box next to the category name, and then select the ELLIPSIS (…) in the top-right corner of the first column.
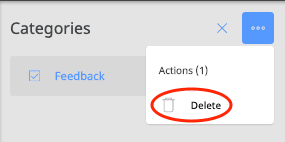
- Select DELETE from the drop-down list.
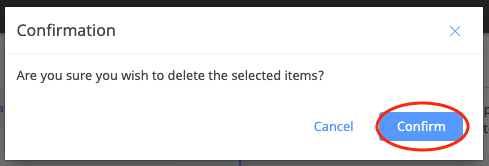
- Press CONFIRM in the pop-up window.
Copying, Moving or Deleting Forms
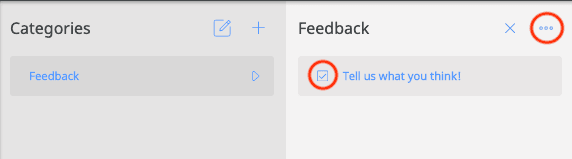
- Check the box next to the form name in the second column, and then select the ELLIPSIS (…) in the top-right corner of the same column.
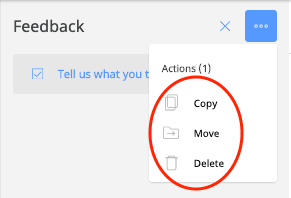
- Select the action you want to perform from the drop-down list: COPY, MOVE or DELETE.
To COPY or MOVE a form:
Select the preexisting category into which you want the form to be copied or moved from the drop-down list. Then, press SAVE.
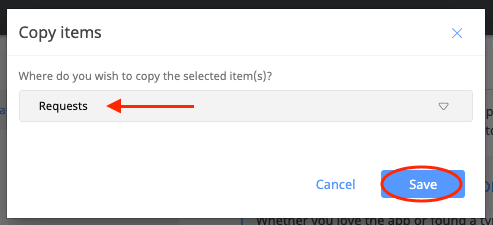
Note: If you COPY a form, a second version of the form will be added to a different category. The form will not be deleted from the original category. If you MOVE a form, it will be relocated from the original category into the new one.
To DELETE a form:
Save your choice by selecting CONFIRM in the pop-up window.
Editing and Deleting Form Content
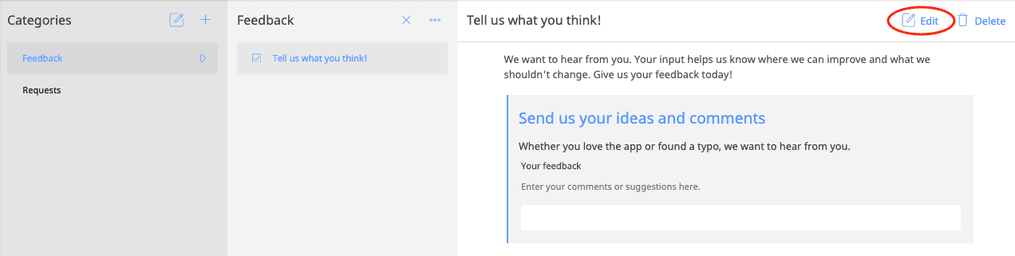
To EDIT form content:
Select EDIT in the top-right corner of the third column, and follow STEPS 5-8 outlined above for creating a new form.
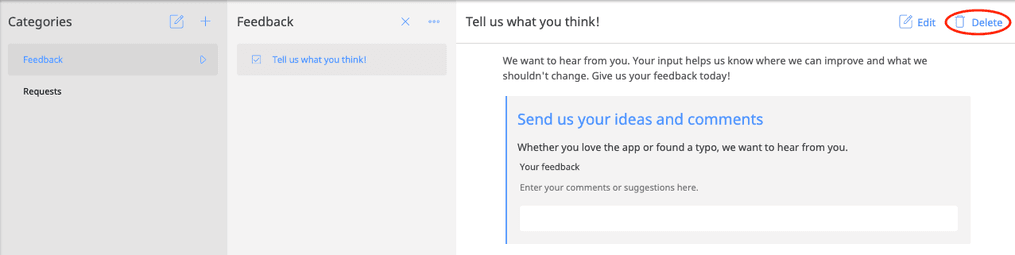
To DELETE content:
- Select DELETE in the top-right corner of the third column.
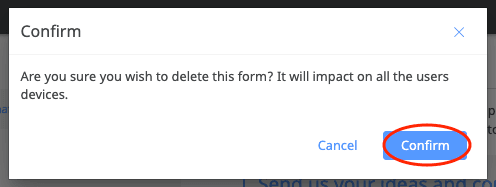
- Press CONFIRM in the pop-up window.
Viewing Incoming Reports
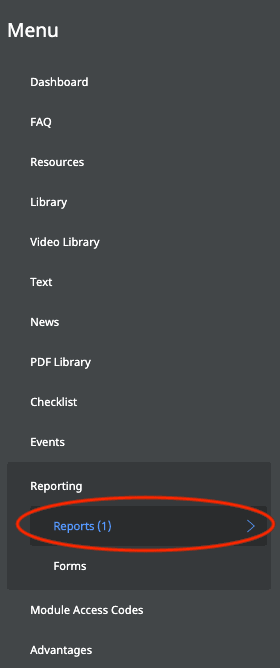
- Select REPORTING > REPORTS from the menu on the left.
- In the first column (INCOMING REPORTS), select from the list of reports you have received from users.
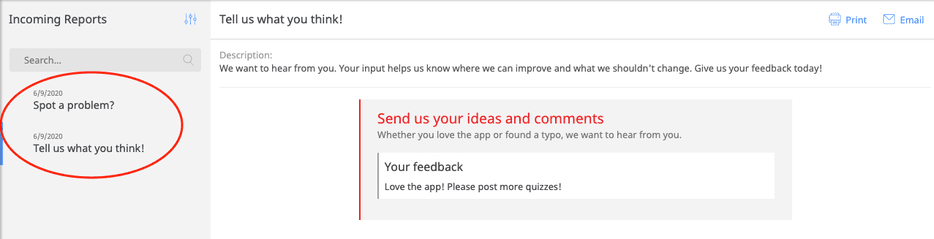
Note: Use the SEARCH box to filter reports by name. - Click on the SORT/FILTER icon in the top-right corner of the first column to sort or filter your reports.
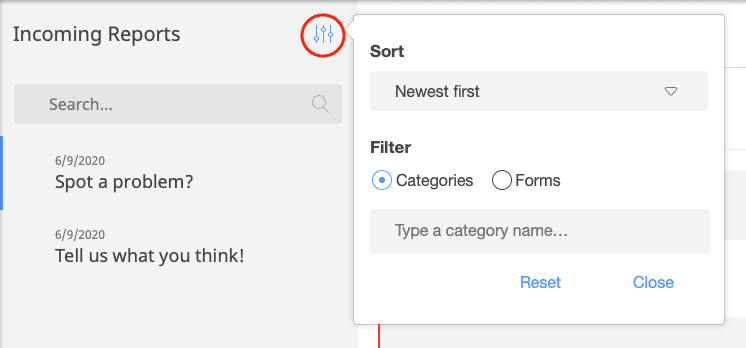
Note: Click on RESET to undo your SORT/FILTER preferences. - Print or email a report by selecting the appropriate PRINT or EMAIL icon in the top-right corner.